
Diaper Changing Pad Tutorial

I was inspired by a diaper changing pad on the great blog sewtakeahike. Although I have no kids, and no real reason to make a diaper changing pad, I thought it would be fun :) This project takes and hour or two and is perfect for baby showers or new moms. I looked through it a few times the tutorial and decided to make a few changes. This is what I came up with. Enjoy!
Materials Needed:
13" of prequilted cotton
13" of cotton fabric for front (unless directional, in which case 24" will be needed)
13" of cotton fabric for back (unless directional, in which case 24" will be needed)
1 package of Bias Tape (or premade)
1"x1" piece of Velcro
Thin sheet of vinyl (optional)
Step 1:
Gather your materials & print your template

Step 2:
Measure & Cut Fabric
For the front: cut 2 pieces to 4.25"x13"
and cut 1 piece to 16.5"x13"

For the back: cut 1 piece to 13"x24"

Step3:
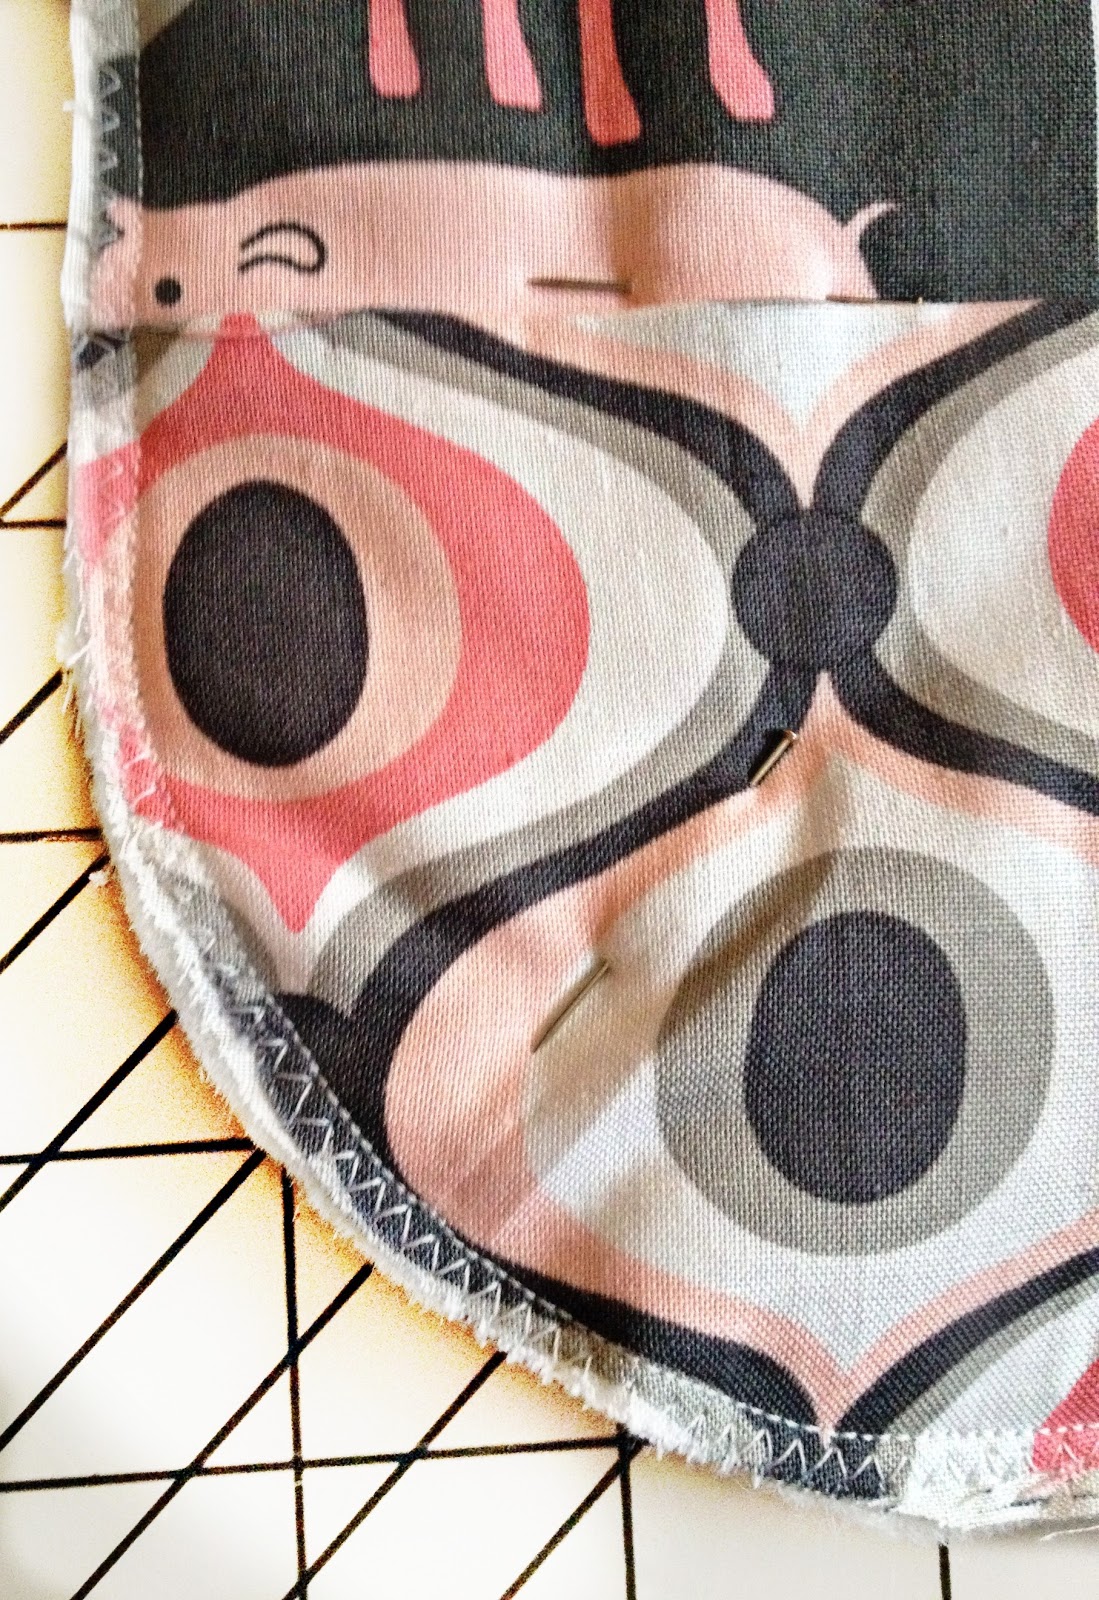
Sew the front panel together, curve the corners, iron the seam, and pin everything down
With the wrong sides out, sew together the front panel, one strip on the top, one on the bottom with 1/4" seam allowance. Iron the seams down and pin together the top, middle, and bottom pieces. The front and the back should be the right way out (if you are adding vinyl, now is the time).

Mark each corner with your printed template and carefully cut.

Each piece that cut off should be identical in shape and size

Step 4:
Sew the pad together
Here comes the fun part!
Sew around the whole changing pad using 1/4" seam allowance. If you want to be extra safe, you can zig zag around the outside.
Step 5:
Bias Tape
Open up your bias tape and pin around the outside. If you'd like more info about bias tape, you can check out this tutorial by Smashed Peas & Carrots.

Using the crease as a guide, sew the bias tape down (a walking foot would be very beneficial here! Be sure you take out the pins as you go, you don't want to break a needle!)

Once the tape is sewn all the way around, close and pin it down, being sure to cover the stitches on the back. Sew as close as you can to the inside edge, but be sure the back side of the tape is being picked up.

Step 6:
Add velcro
Your almost done! The last step is to sew on the velcro. I strategically placed my fuzzy velcro on the front in the tummy of the elephant. but you can place yours 6 inches from each side (right in the middle!) and 10 inches from the bottom. The loop side (or scratchy side) goes on the back and can be place 6 inches from each side and 1.5" from the top. So in short
Front: 6" from each side, 10" from the bottom
Back: 6" from each side, 1.5" from the top
Front: 6" from each side, 10" from the bottom
Back: 6" from each side, 1.5" from the top

Great Job!
Yours should resemble something like this!


PS I got this great Michael Miller fabric here, check out this shop for great deals on fabric!
No comments:
Post a Comment